Novitech’s in-line inspection tools come in 10 standard configurations. Our experienced technicians can quickly convert these tools from one version to another onsite and in just a few hours.
Integrity Threat Solutions:
Limited Application Strong Application Strongest Application Not Applicable
| Tool Configurations | ||||||||||
| Threats | m-v01 | m-v02 | m-v03 | m-v04 | m-v05 | m-v06 | m-v07 | m-v08 | m-v09 | m-v10 |
|---|---|---|---|---|---|---|---|---|---|---|
| Metal Loss | ||||||||||
| External Corrosion | ||||||||||
| Internal Corrosion | ||||||||||
| External Pinholes | ||||||||||
| Internal Pinholes | ||||||||||
| Gouging | ||||||||||
| Selective Long Seam Corrosion SAW | ||||||||||
| Selective Long Seam Corrosion ERW | ||||||||||
| Narrow Axial External Corrosion | ||||||||||
| Internal Manufacturing Metal Loss | ||||||||||
| External Manufacturing Metal Loss | ||||||||||
| Erosion | ||||||||||
| Crack Detection | ||||||||||
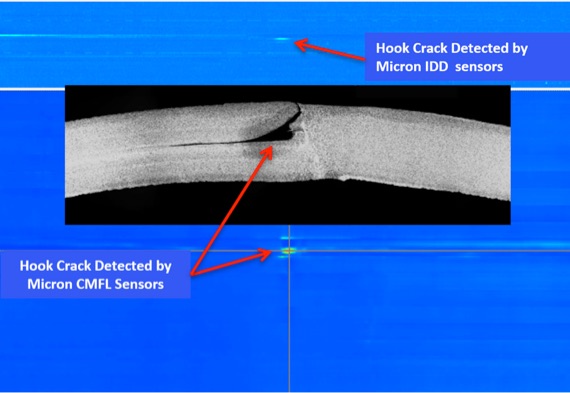
| Long Seam Hook Crack | ||||||||||
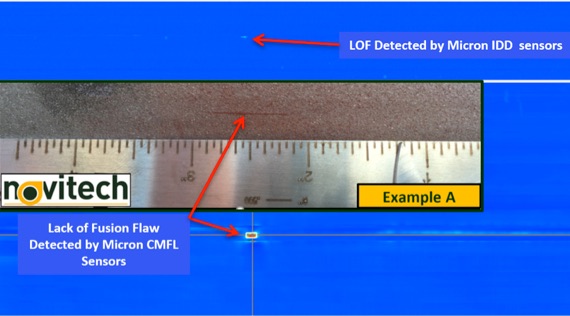
| Long Seam Lack of Fusion | ||||||||||
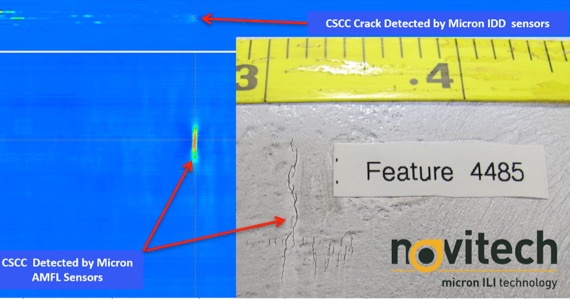
| Circumferential SCC | ||||||||||
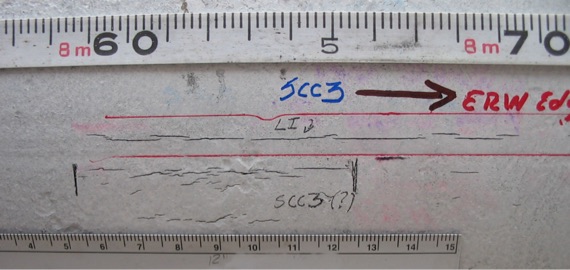
| Axial SCC | Cracking in Gouges | |||||||||
| Deformation and Mechanical Damage | ||||||||||
| Plain Dents | ||||||||||
| Dents with Metal Loss | ||||||||||
| Dents on Long Seams | ||||||||||
| Dents on Girth Welds with Metal Loss | ||||||||||
| IMU/INS Mapping | ||||||||||
| Pipeline Mapping | ||||||||||
| Pipe Movement | ||||||||||
| Geohazards | ||||||||||
| Bending Strain | ||||||||||
Micron ILI Technology modules

Patented dual module AMFL Magnetizers (AMFL)
Micron AMFL Magnetizers delivering up to 640 sample per square inch.
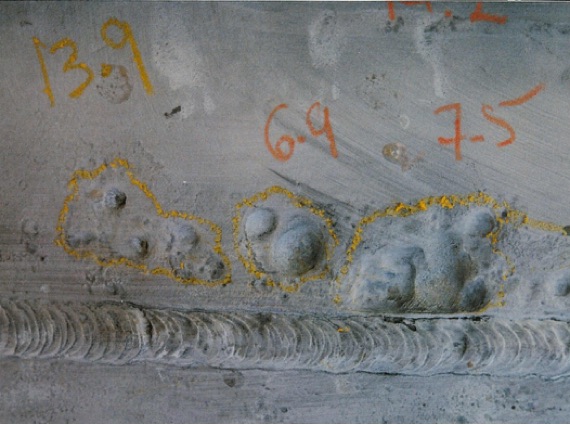
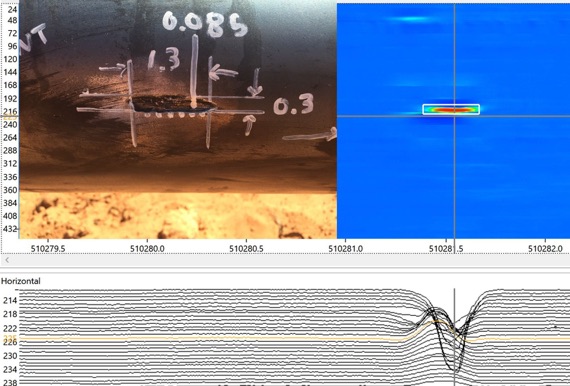
The axial MFL magnetizer can provide a sampling density up to 640 samples per square inch. This provides industry leading detection and sizing capabilities. This advanced technology reliably detects pipeline features, metal loss, and mechanical damage.
Patented Tri-module CMFL Magnetizers (CMFL)
Micron CMFL Magnetizers delivering up to 1000 samples per square inch.
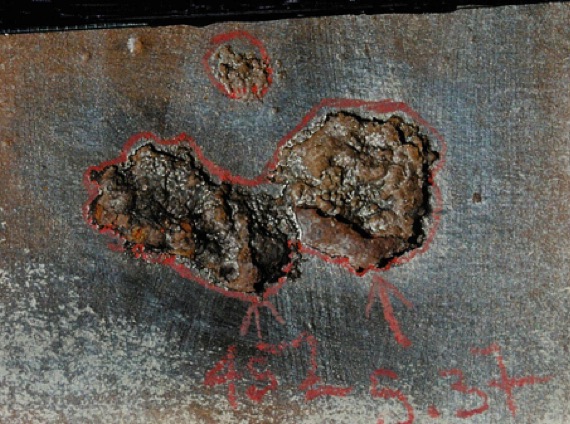
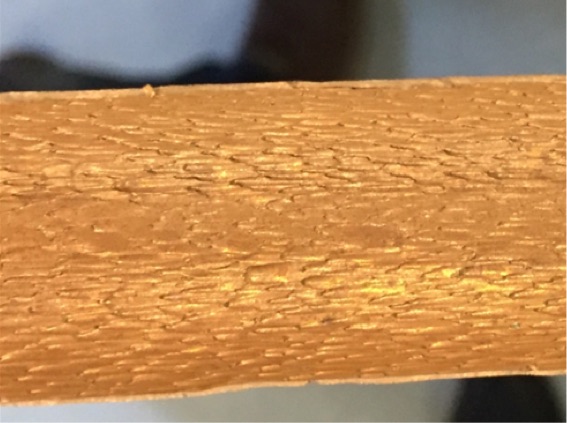
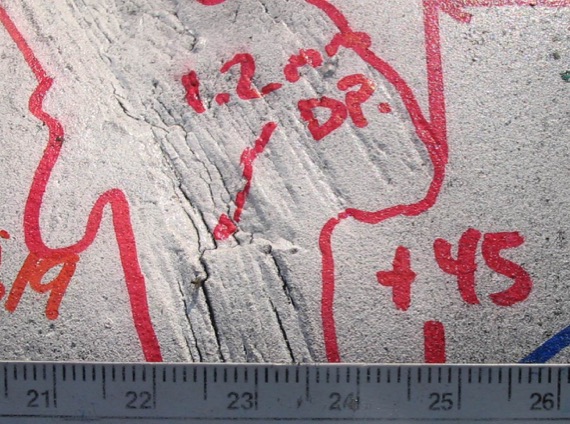
The circumferential MFL magnetizer can provide a sampling density up to 1000 samples per square inch. This provides industry leading detection and sizing capabilities. The CMFL tools use a circumferential-orientated magnetic field, capable of detecting and quantifying many types of critical and sub-critical flaws that include axial cracking, mechanical damage, narrow axial corrosion, general metal loss and very small diameter corrosion pitting.


Geometry
Geometry Module delivering Fine resolution and high accuracy.
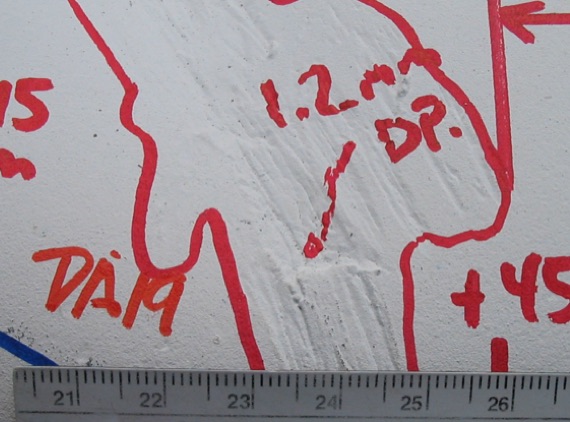
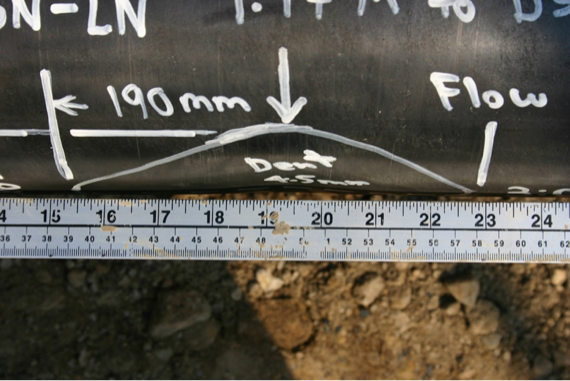
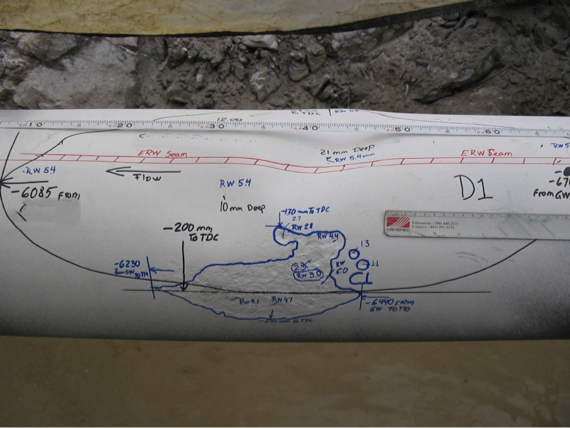
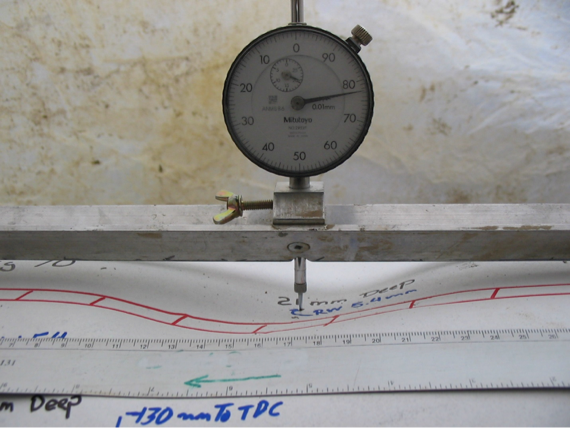
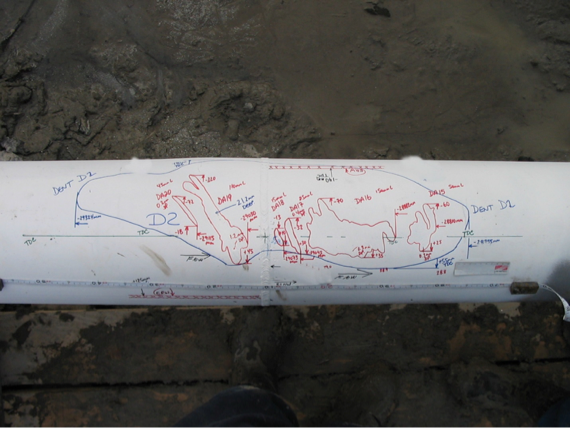
The geometry modules have industry leading 4 sensor arms per diameter inch. This allows the very precise profiling of mechanical damage every 0.8 inch (20mm) around the circumference of the pipe.

IDD-SMSM (Internal Depth Detection – Stress MeasurementSM) Sensors
Industry leading Micron IDD-SMSM sensors for detecting cracking, pinholes, and anomalies with high stress concentrations.
In the same module each geometry arm has two independent
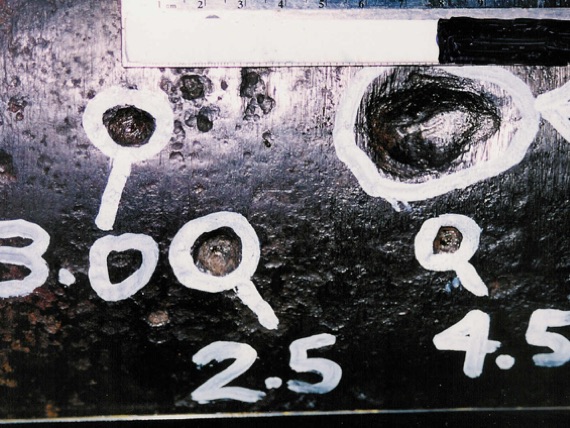
IDD-SMSM sensors for an industry leading 8 sensors per diameter inch. This allows the very precise detection of internal metal loss and other anomalies every 0.4 of an inch (10mm) around the circumference of the pipe.
Inertial Measurement Unit (IMU)
Sub-meter accuracy IMU
Novitech uses state of the art Inertial Measurement Units that can provide 3.3 ft. (sub-meter) accuracy with references up to 1 mile (1,600m) apart.
- 3D submeter GPS data providing means to locating pipeline anomalies, features and fittings
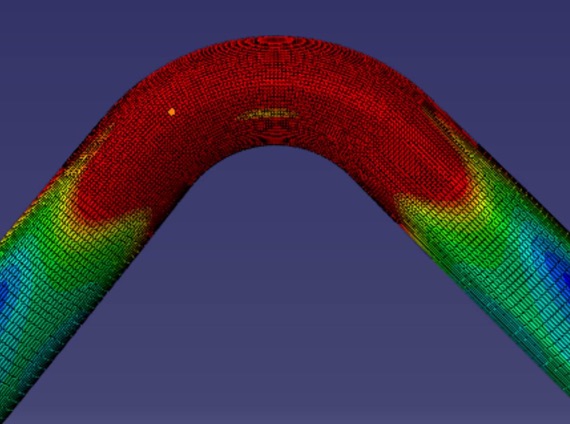
- Collected data can be used to calculate bending strain and pipeline movement.
- Regulations may require that pipeline operators document the location of their assets.


